Every Evoto Video edit follows the same four-step loop. Once you can name the loop, every later lesson tells you which step it changes. This lesson is the loop itself, demonstrated on a single 10-second clip.
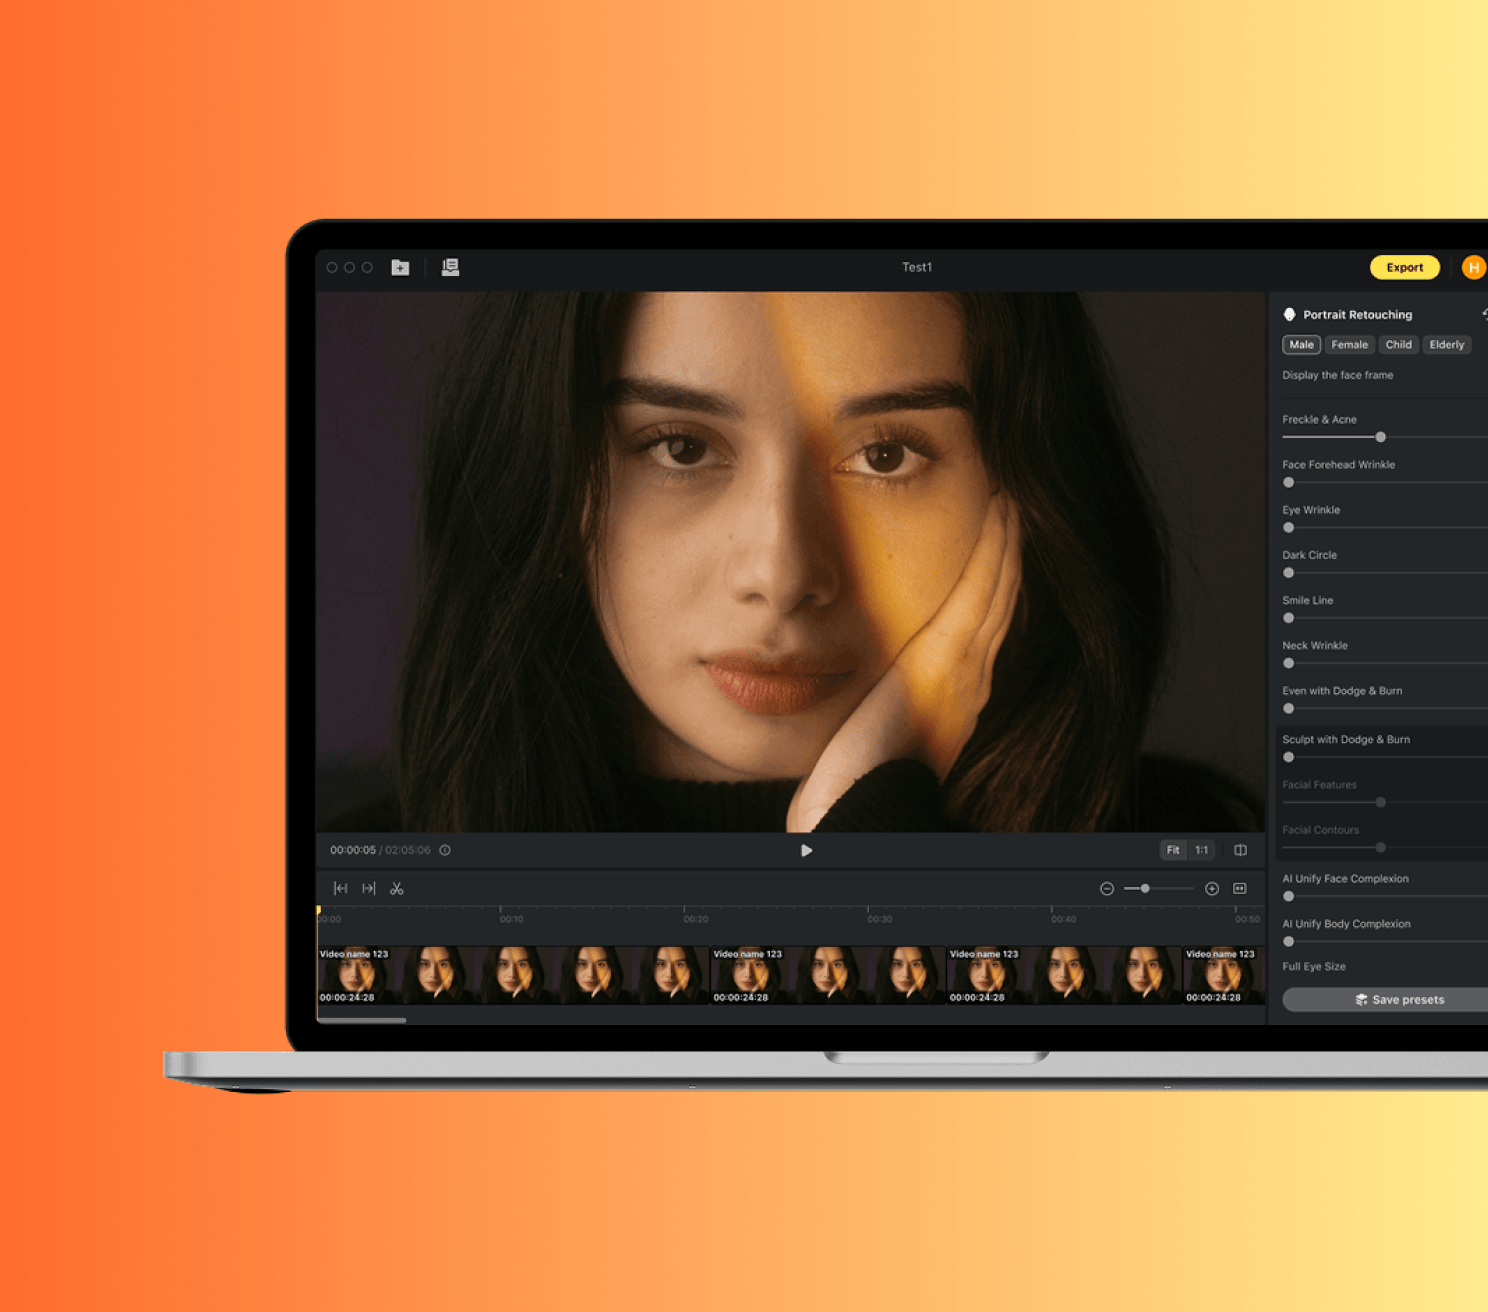
How to do it
Project Panel — import one clip from a real shoot. Files in the Project Panel are imported but not edited.
Timeline — drag the clip onto the timeline. Editing controls only activate once a clip is on the timeline.
Preview — scrub to a representative frame. Use the right-side Edit Panel to apply a Portrait or AI Color preset, preview only.
Apply — when the preview holds, click Apply Effects. This is the render step and the vCredit-spend step.
Loop back. If the apply result is wrong, undo and adjust on the same anchor frame, not on a different one.
Try it
On one short clip, walk the four steps deliberately while saying each name out loud. Get used to where the loop spends vCredits and where it does not.
Watch out for
Skipping Preview scrubbing. A retouch can look correct on one frame and broken in the next two seconds.
Importing finished edits with transitions. The loop is built for raw footage; pre-edited material confuses every later step.
Source: Evoto Video FAQ